Students join SYNKii through a teaching invitation. Start with the invitation for the correct learner rather than trying to create an unrelated account.
Open the invitation
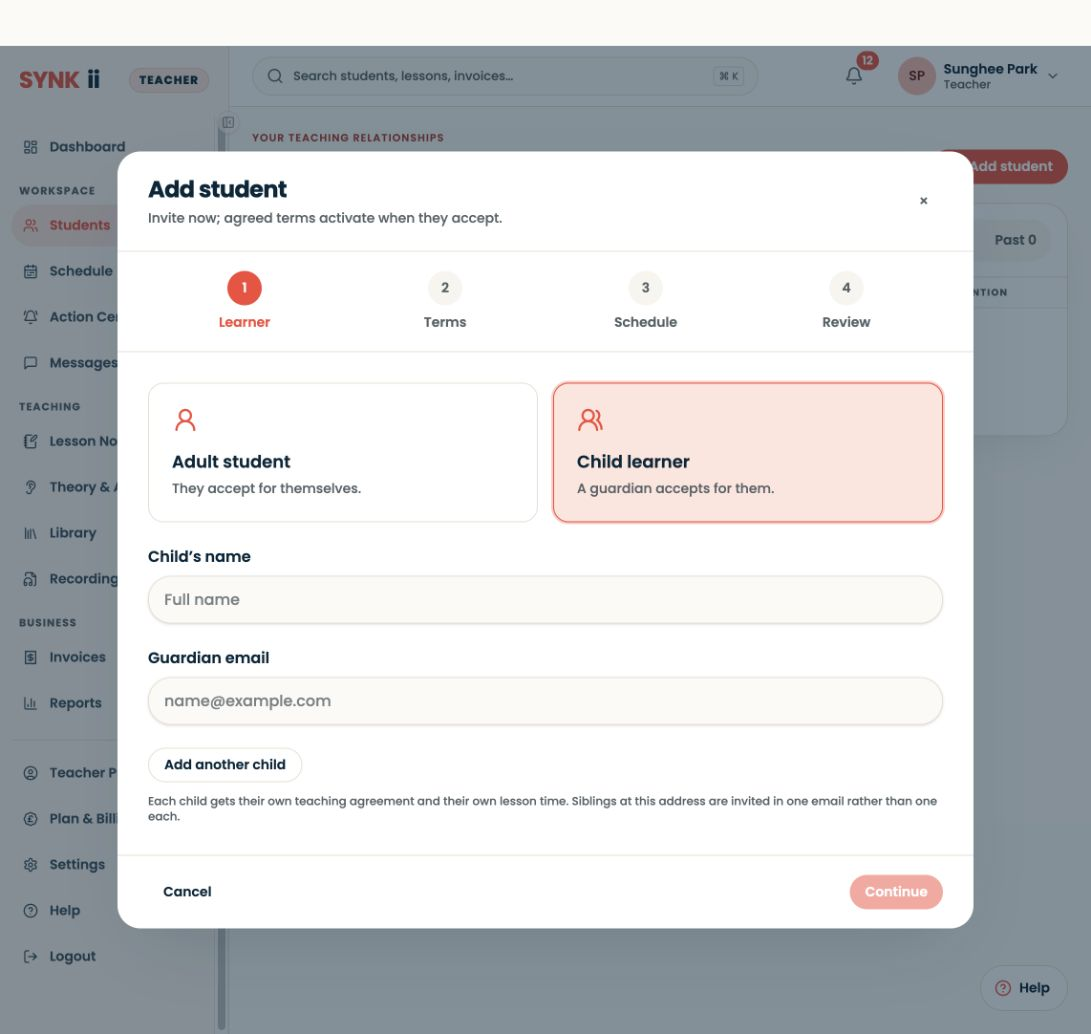
Check that it identifies the teacher and relationship you expect. Follow the sign-in or account creation steps shown. An adult learner completes their own route; a child joins through the appropriate guardian activation process.
If the invitation is unexpected or the details are wrong, contact the teacher before continuing.
Complete the relationship steps
Read the details presented and finish the required acceptance or permission steps. A started sign-up may not mean the teaching relationship is active yet.
If you already have an account, use the appropriate existing-account option shown. Avoid creating duplicates simply because you cannot find a particular teacher.
Find the first lesson
Once connected, check the teacher, schedule and shared material. Ask the teacher to point you to the first approved note or task.
Try one small action
Open a score or find the next lesson date. If you can do that independently, you have a useful starting point for the next lesson.
You do not need a separate paid SYNKii subscription to join your teacher. Lesson fees are separate, and available tools depend on the teacher’s plan and your permissions.